Double click on the pictures to see the whole thing.
Step One: Cut out Fabric.
Step 2: Cut out interfacings--hood pieces only.
Step 3. Iron facings on to wrong side of fabric.
Step 4. Transfer markings.
Step 5. With right sides together, sew hood pieces, sewing from dot to dot, using 5/8" seam.
Clip corners and press.
Step 6. Turn right side out and press.
Step 7. On back piece, cut 3/8" slits in fabric where the pattern indicates.
Step 8. Fold fabric 6/8" and press.
Step 9. Sew 5/8" from folded edge.
Step 10. Sew 1/8" from folded edge.
Step 11. Run 1/4" ribbon through the casing you just made, starting and ending at the slits you cut.
Step 12. Run gathering stitch between notches on the curved side of the back. Mark center of hood and center of back. Make sure you can see the notches on back and hood.
Step 13. Pin top layer of bonnet hood to back, matching centers, notches, and ends. We had to turn the corners of the hood wrong side out again, so if you're having a hard time pinning, maybe that will help.
Step 14. Gather back by pulling thread between notches. Pin in place (I've never regretted putting in an extra pin or two).
Step 15. Sew bonnet back to top layer of bonnet hood. Turn corners back to right side out.
Step 16. Press the inside layer of bonnet hood 5/8" up on all 3 edges.
Step 17. Stitch inside layer in place.
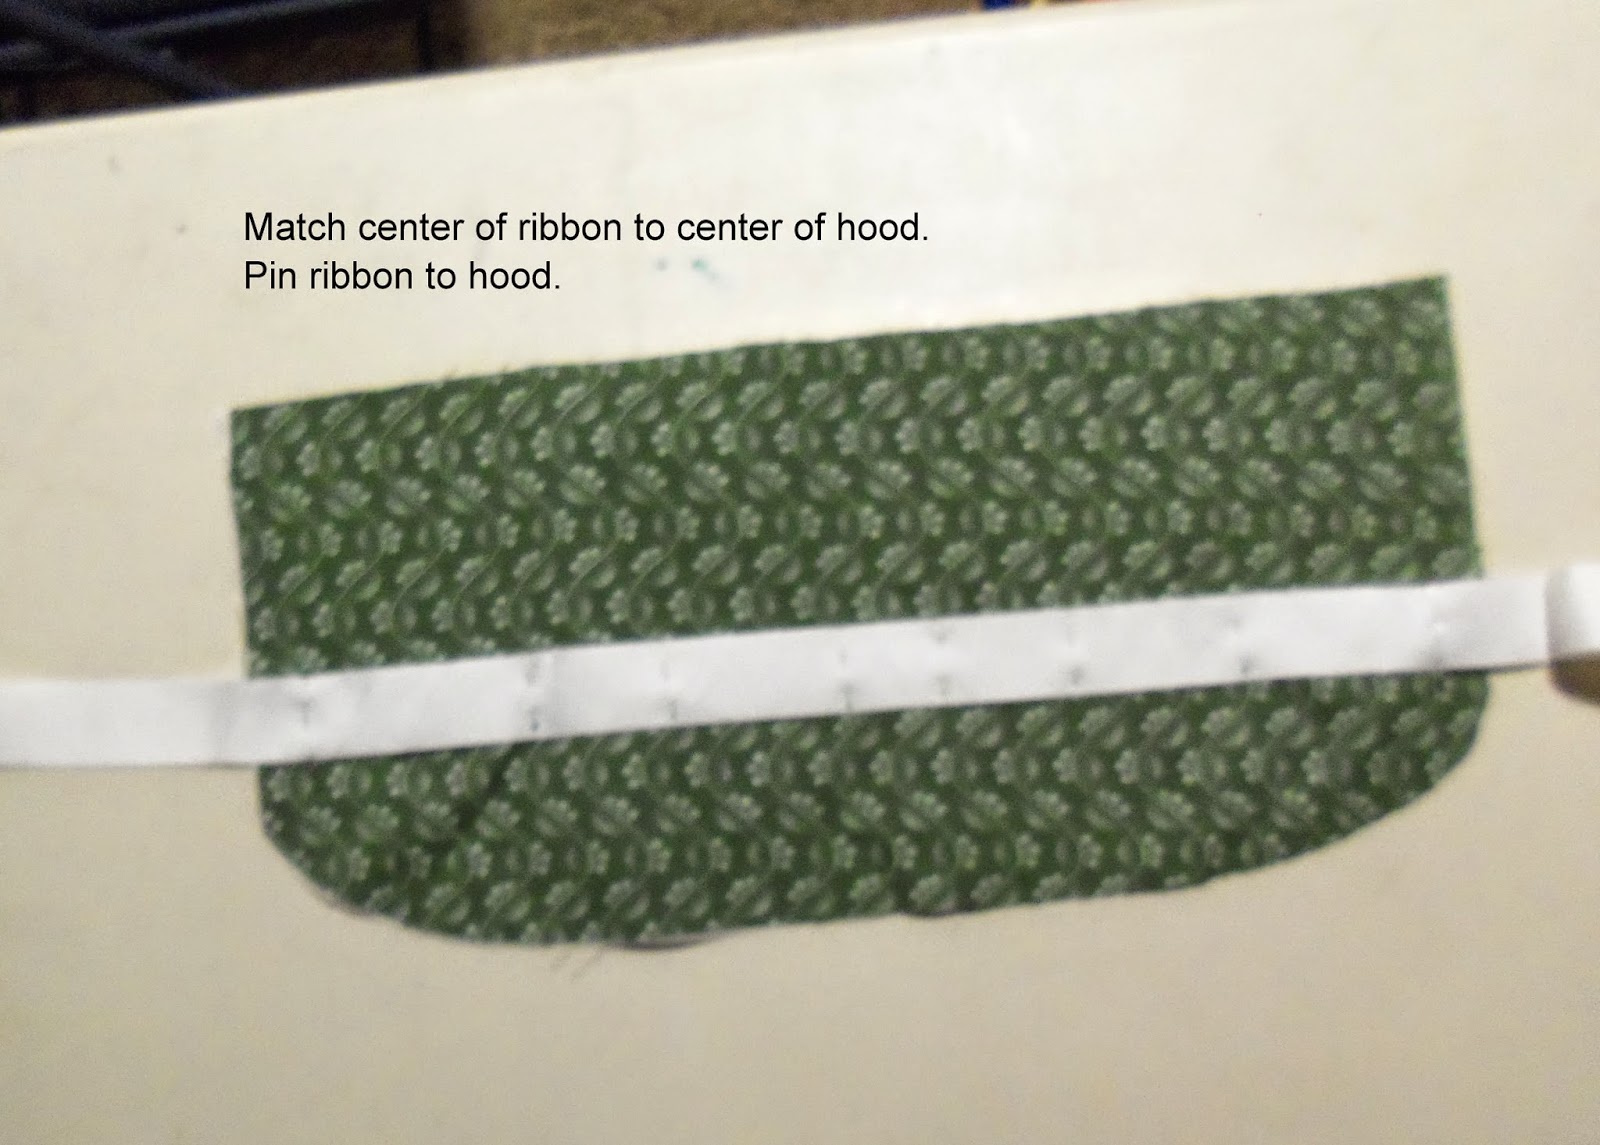
Step 18. Mark center of hood and center of ribbon. Pin in place, matching ribbon edge with markings from step 4.
Congratulations! Now you're all done. Looks great!